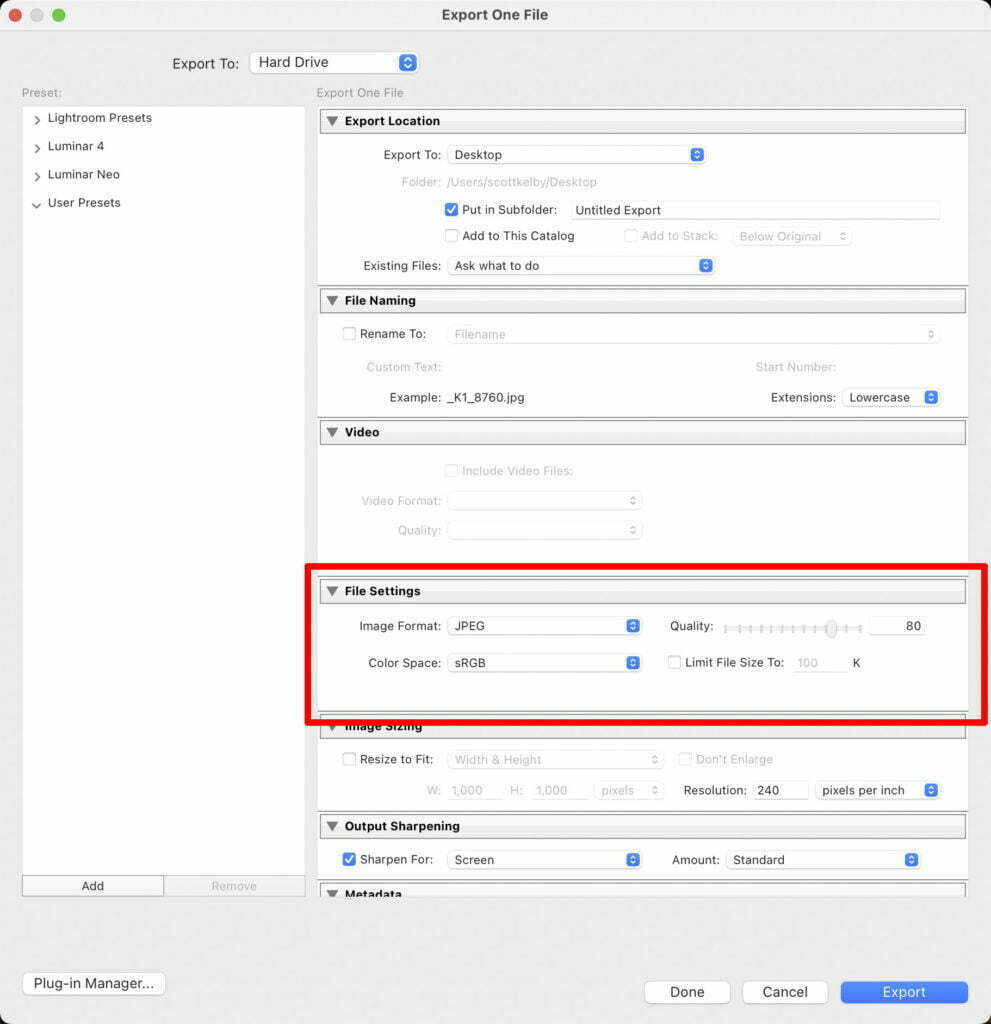
Here’s a question I get asked a lot, and it’s an easy one to answer because I’ve been using the same settings for saving my JPEGs out of Lightroom for around 14-years now. What I look for is a decent amount of reduction in the file size but without a visible loss of quality.

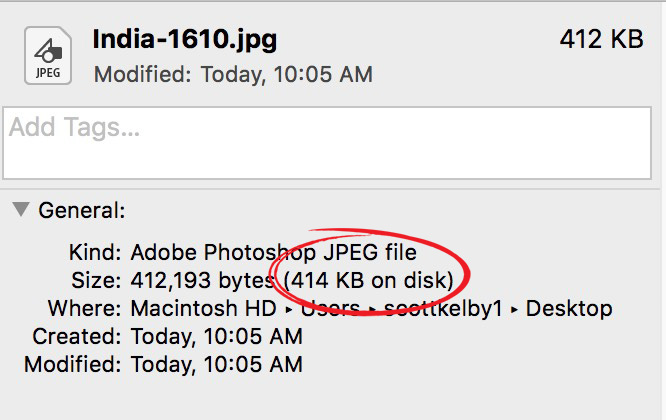
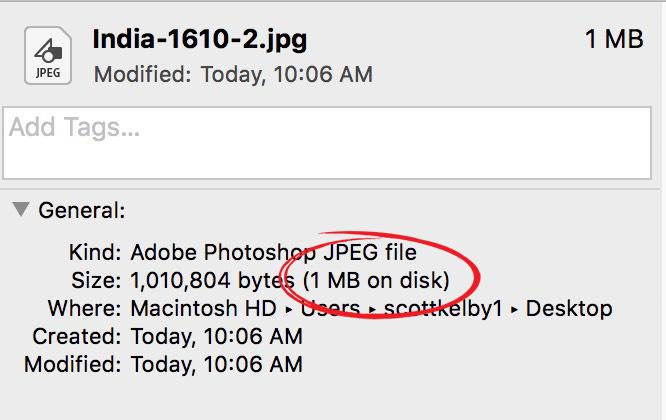
I’ve found that my sweet spot is a Quality setting of 80 (as seen above) out of 100. That gives me a small file size but still, the quality of the final image looks great, and you don’t see any signs of compression at that high a setting. The size of the JPEG files saved at 100 is more than double what they are at 80. Take a look:


But Drive Space is So Cheap Now!
Well, yes it is still fairly cheap (but not nearly as cheap as it was a year or so ago). So yes it is, but this isn’t just about drive space — this is also about load speeds on the Internet, and smaller files load quicker, so that’s the 2nd consideration.
Anyway, those are the settings I’ve been using for years now, and I’m happy with the results. Hope you found that helpful. Have a great Monday, everybody! 
-Scott
The post The Settings I Use When Saving An Image as JPEG appeared first on Lightroom Killer Tips.
![[DEV]Schenectady Photographic Society](https://dev.spsphoto.org/wp-content/uploads/2020/03/newsitelogo5-e1584673483198.png)