How to use Multi Image Content Aware Fill in Photoshop Beta
This Photoshop tutorial shows you how to use an experimental feature that uses additional images to automatically patch and fill areas of a photo to remove objects and distractions. Currently you won’t find this feature in the regular version of Photoshop it’s in the public beta. I show you how to access the beta at the end of this tutorial. (Note: I can’t provide any support on the beta).
Let’s see how it works on a basic example. Then we will use another example, where we dig deeper with additional features to fix another image.
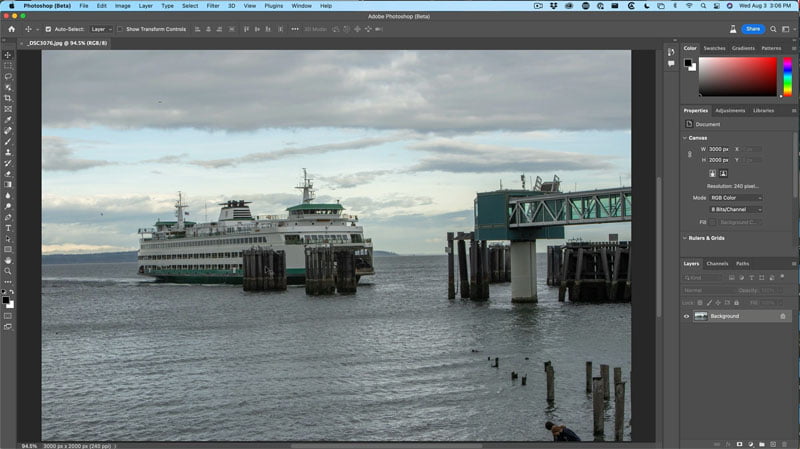
Why Content Aware Fill doesn’t always work
Just to test the traditional Content aware fill, lets see how it does on this image. (how to use Content Aware Fill)
Make a selection with the rectangular marquee tool.

Press Shift+Delete (mac) Shift+Backspace (Windows) to open the fill dialog box.
Choose Content Aware Fill.
As you can see the front doesn’t work very well. The reason it doesn’t work, is the detail can’t be created out of thin air (yet.. mid journey Dall-E style ai will change this in the future).

New Multi Image Content Aware Fill
In order for this new feature to work, we need another image that has the pixels we need.
(you will need to take multiple pictures to use this feature. You may be able to find a stock photo to use.)

Choose the object selection tool
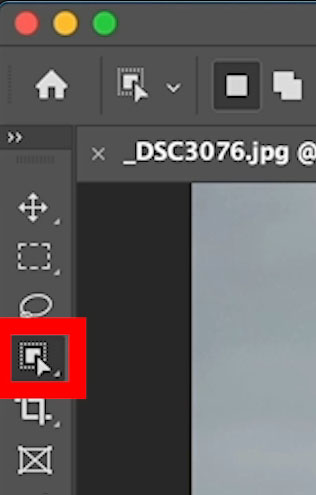
Drag around the first area to select.
To add additional selections, hold down the Shift key and make additional selections.

Choose Select>Modify>Expand Selection
Enter 5
Click ok
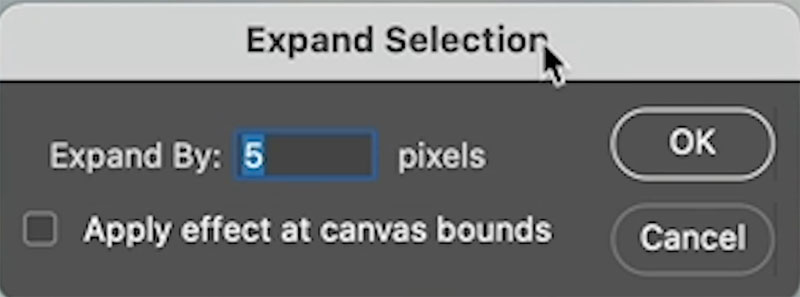
This will add a nice buffer so there won’t be edges on the selections
Choose Edit>Content-Aware Fill
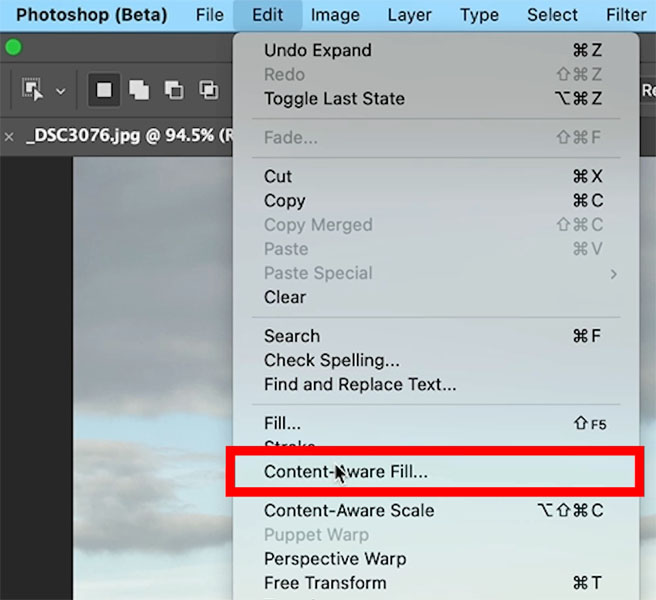
You can see the result isn’t great. Let’s use the new feature.
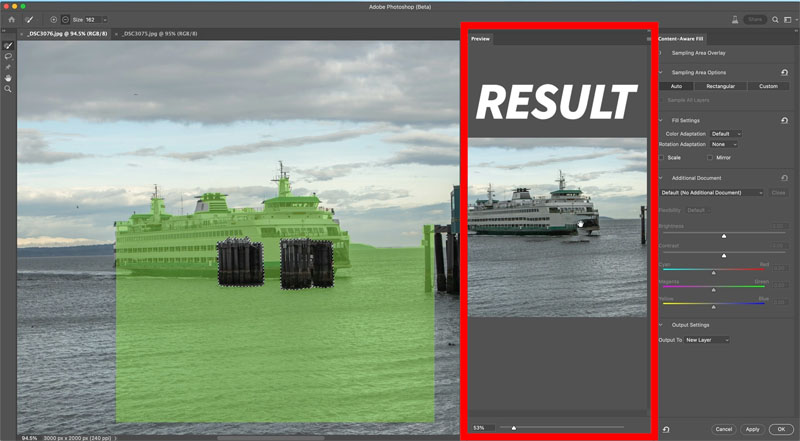
Click on Add additional Document
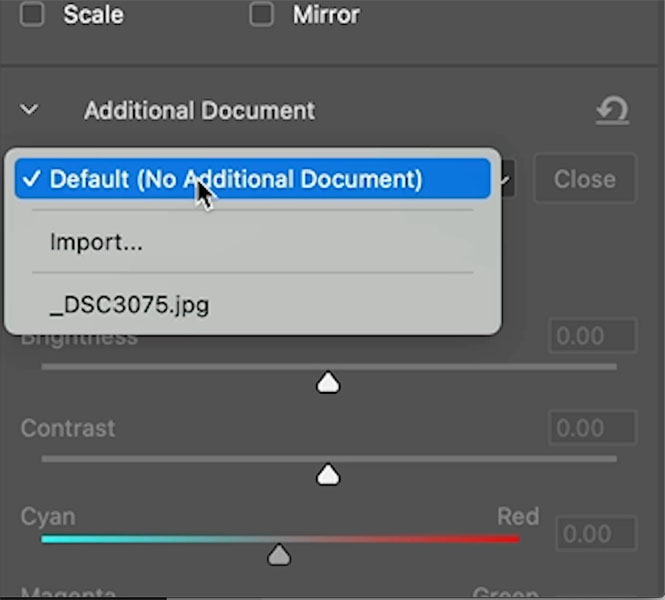
Grab this other image

And you can see the result is much better.
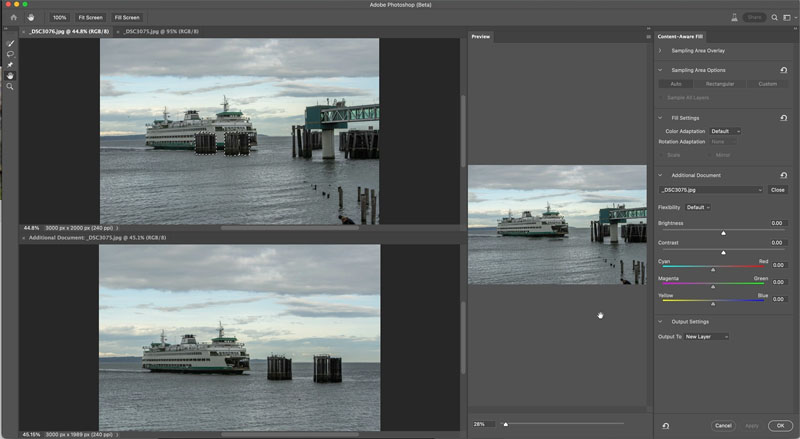
The after image

Let’s look at a more difficult example.
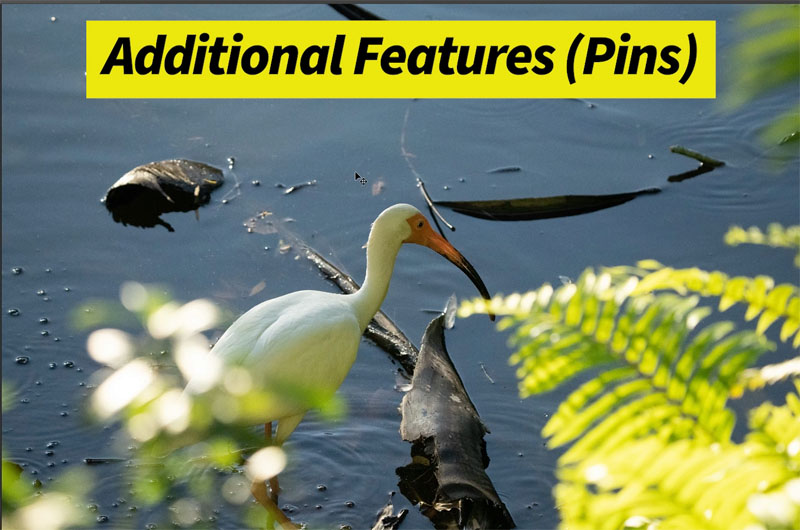
We went to remove the blurred foreground elements.
Grab the lasso tool and make a selection around the area we want to fix.
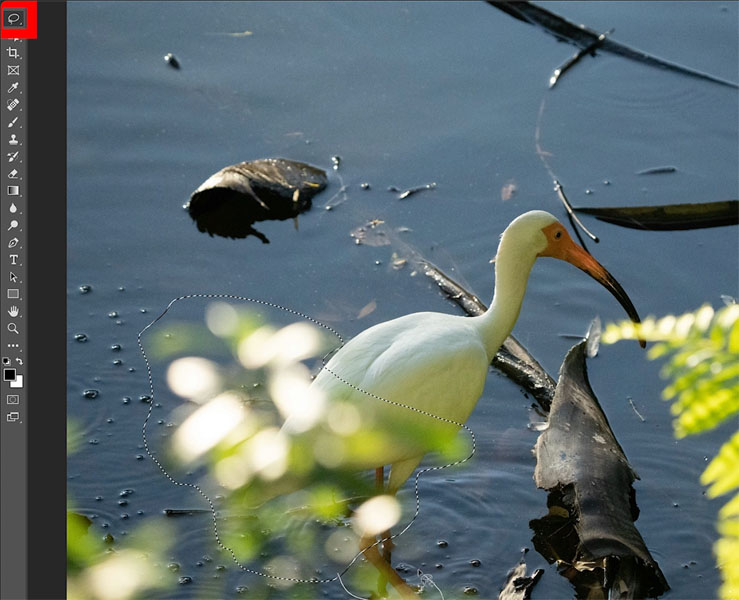
Choose Edit>Content-Aware Fill
You can see the tail and bottom part of the bird is missing.
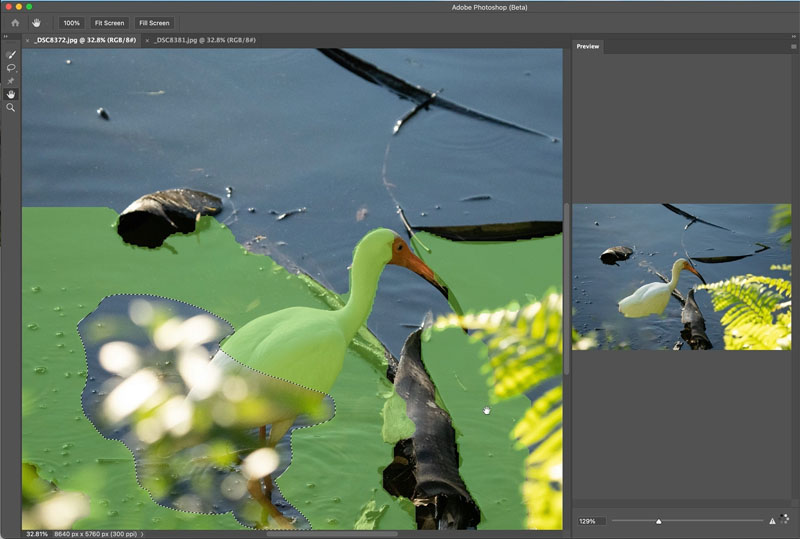
Add additional image
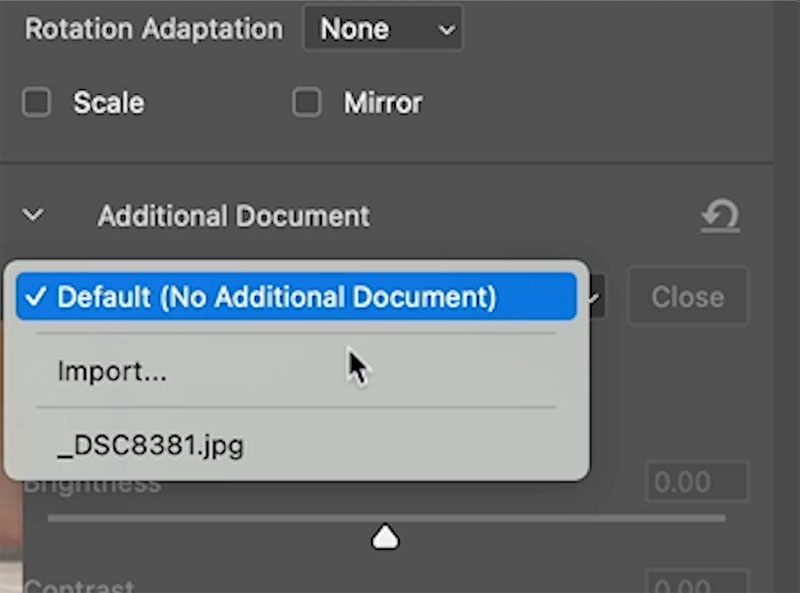
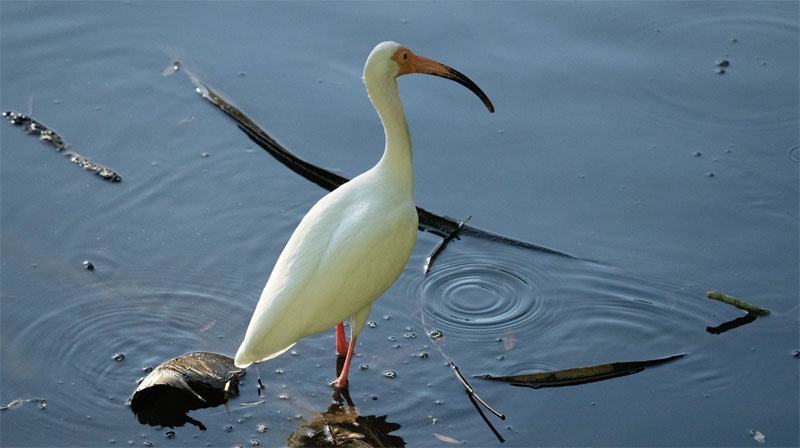
Here is a clean bird to use.
You can see the additional in the Content Aware Fill dialog.
Unlike the boat, the bird isn’t looking better. Le’s fix it.
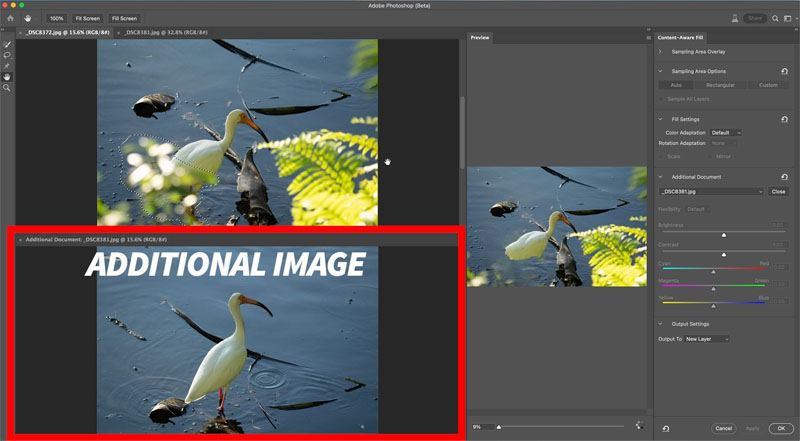
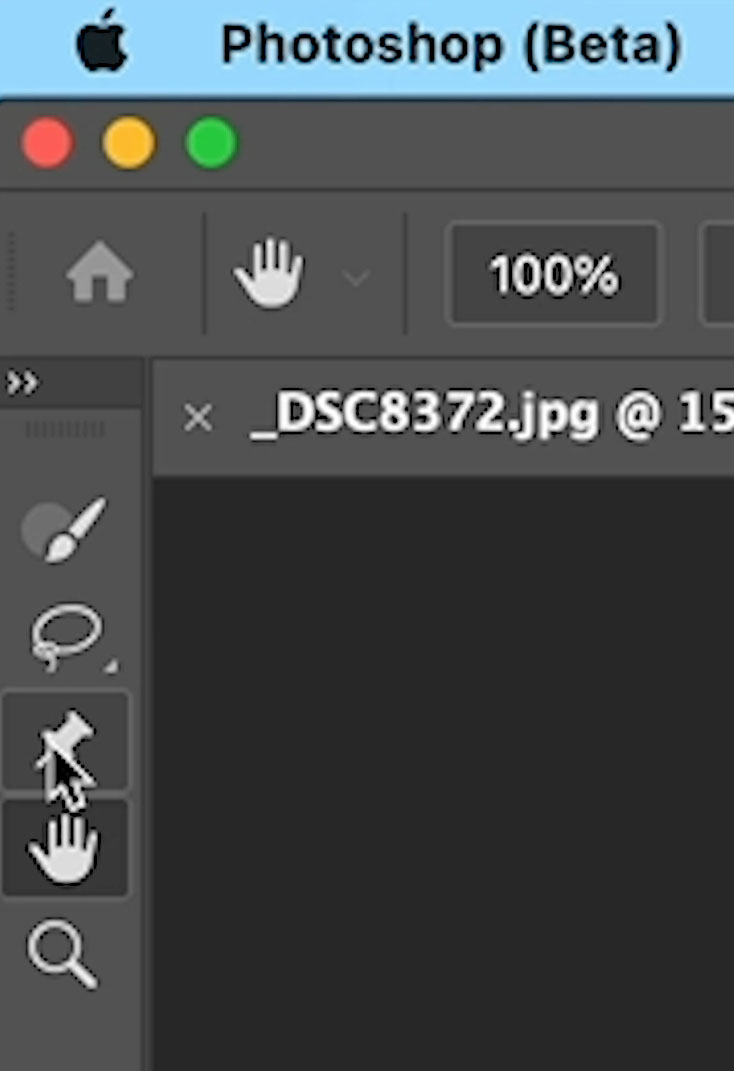
Choose the Pin tool
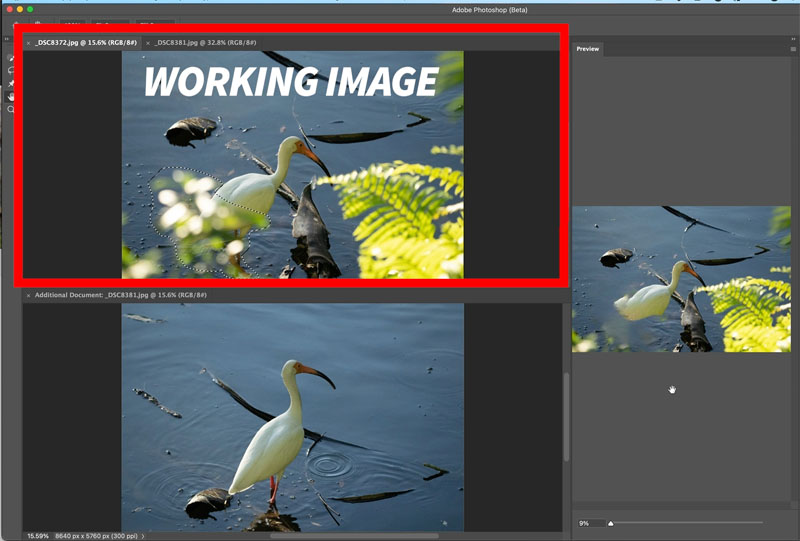
We will add pins to the working image.
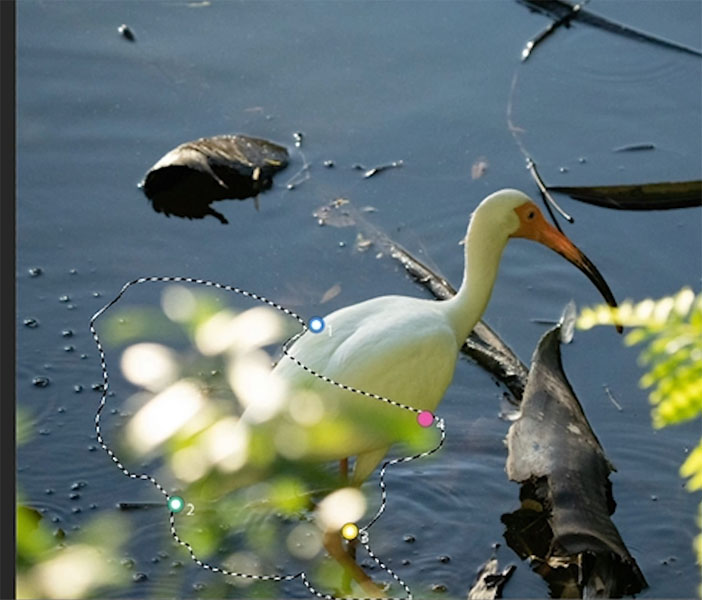
Add a pin on important areas of the photo by clicking.
You can add 4 pins.
On the additional image, drag the numbered pins
You want to match the locations on the pins between the 2 images.
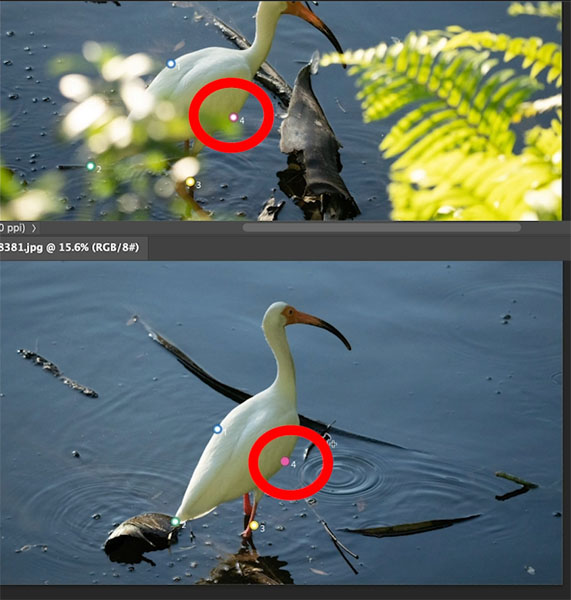
As you can see the result has been updated and looks much better.
There are some settings to fix the color, but at the moment they don’t work very well. (Its still in Beta, so its not finished)
Click ok.
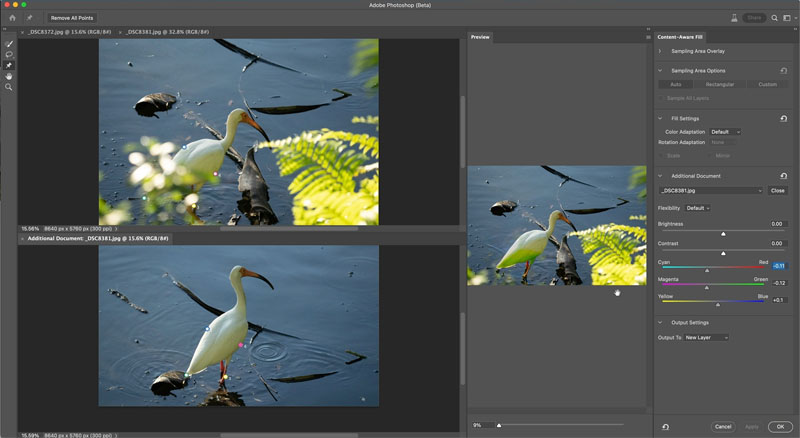
Let’s fix the color and then I’ll show you how to get the beta.
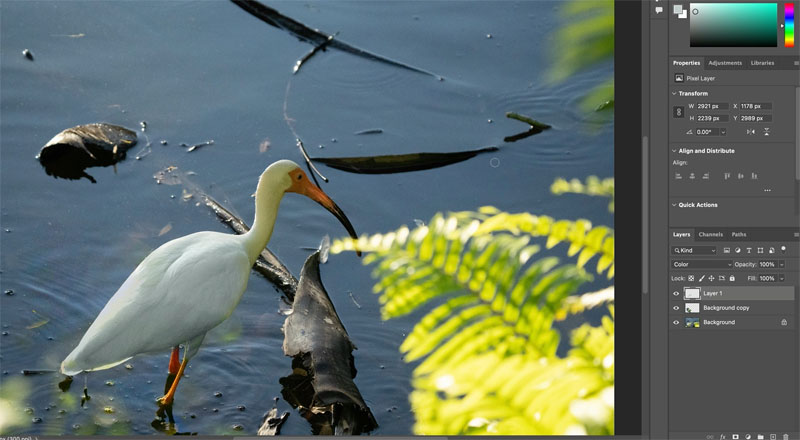
Create a new layer and put it on top.
Change the blending mode to color.
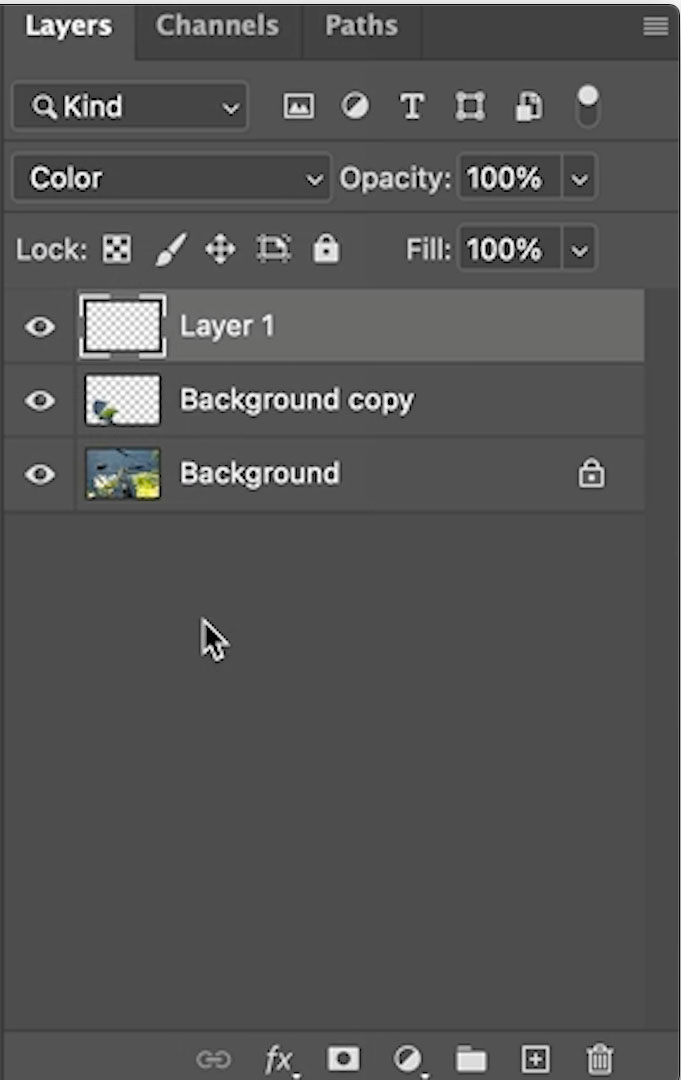
Choose the brush tool.
Hold down Alt/Option and click on the image to sample color.
Grab the neutral color.
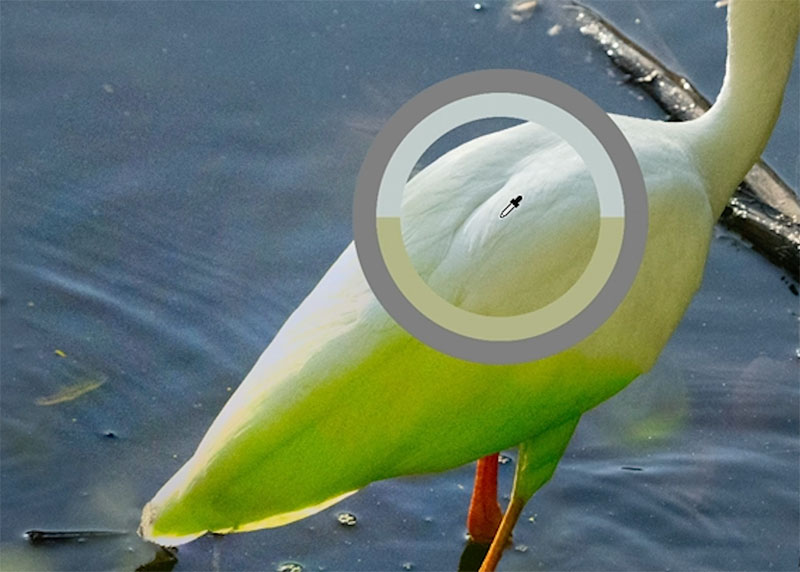
Paint over the tail to fix the color.
Get the Photoshop Beta
You have to be a Creative Cloud Subscriber to access the beta. Find the Creative Cloud app on your desktop (Its usually in the toolbar)
On the Left column you will see Beta Apps

Click on Beta Apps and you will see the available apps
Click on Photoshop one to install it.
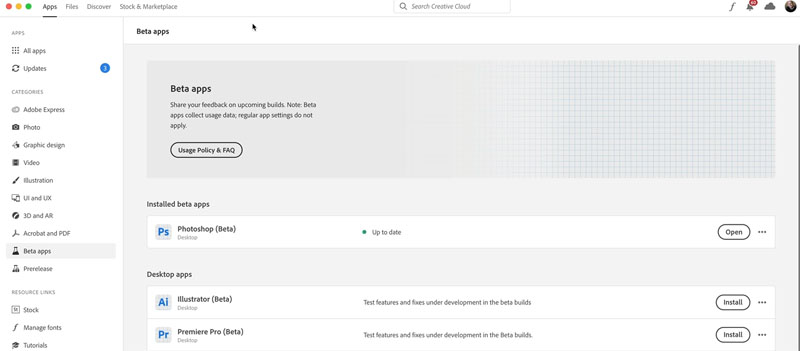
When you launch Photoshop, make sure it’s the beta version, as both versions will be installed at the same time.
When you use this, provide feedback to Adobe, they listen!
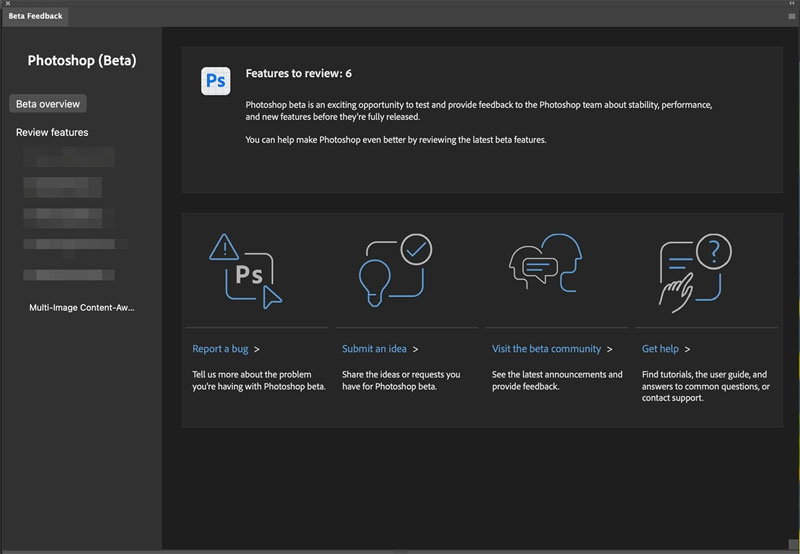
Click the beaker icon in the beta.

It will take you to the beta Feedback where you can visit th Beta Community and add your thoughts.
I hope you found this tutorial useful, don’t forget to check out the video at the top.
Thanks for joining me here at the CAFE
Colin
Consider joining our mailing list so you don’t miss any of my tutorials.
For more, follow us on Social Media
The post Unreleased Photoshop features remove anything in a picture appeared first on PhotoshopCAFE.
![[DEV]Schenectady Photographic Society](https://dev.spsphoto.org/wp-content/uploads/2020/03/newsitelogo5-e1584673483198.png)