How to make a Ling Kong in Los Angeles poster in Photoshop, using tiny planets and compositing
In this Photoshop tutorial, you will learn how to make a tiny planet from any photo. Then you will learn how to combine photos and add a king kong. You will gut out the animal with fur, add skoke (brush included) and then color grade to make a poster. Share your results and tag us #photoshopCAFE on social media, I’d love to see what you make.
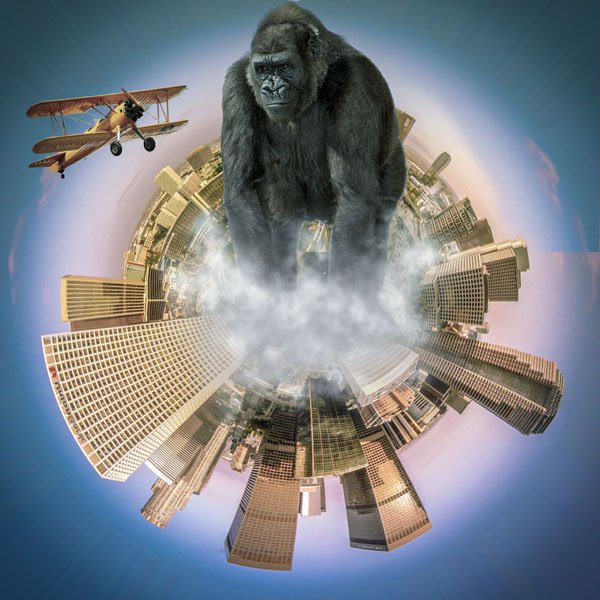
This is the end result of my image from the tutorial, just so you know what we are making. You should make your own unique art using these steps.
If you get stuck, please watch the video above, as it shows every detail.
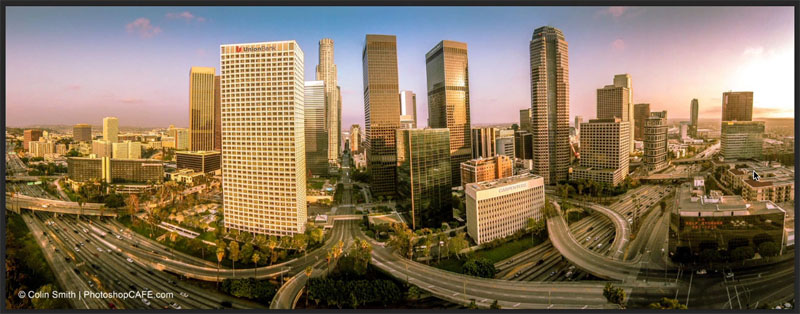
1. Start with a photo, a panorama works the best. This is one of my earlier drone shots of downtown Los Angeles. I actually shot this only using a gopro.
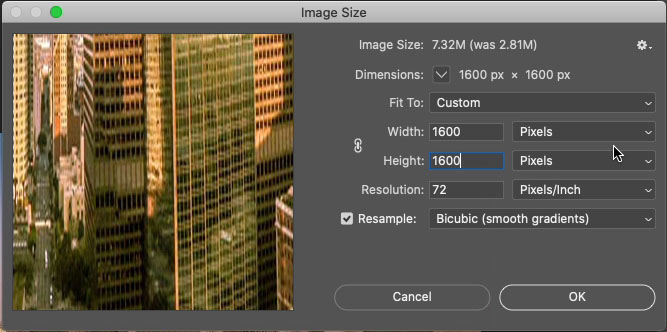
2. Make the photo a square
Image>Size
Turn off the chain link and make height and width the same.
Click OK
The result is a stretched image, perfect!
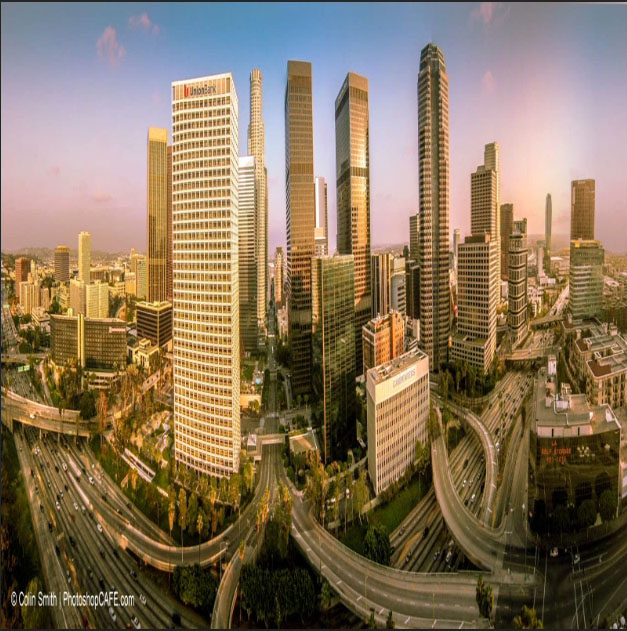
3. Flip it upside down
Image>Image Rotation>180
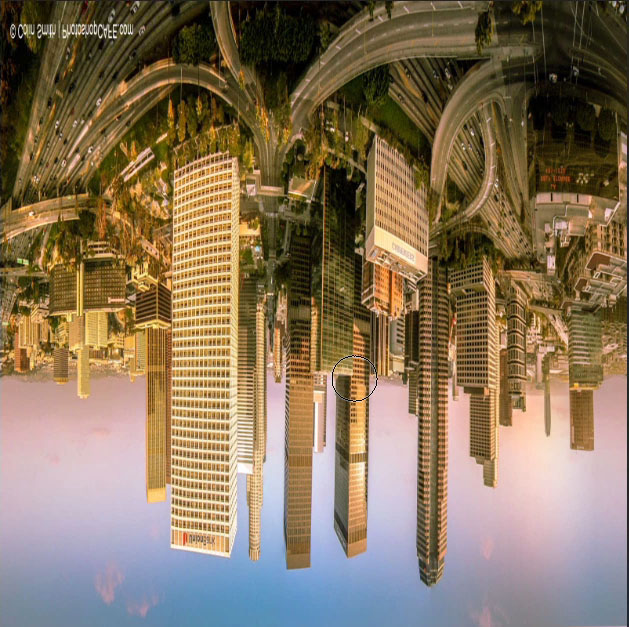
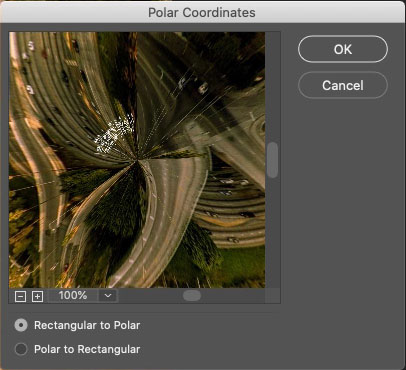
4. Here comes the tiny planet effect
Filter>Distort>Polar Coordinates
Choose Rectangular to Polar
OK
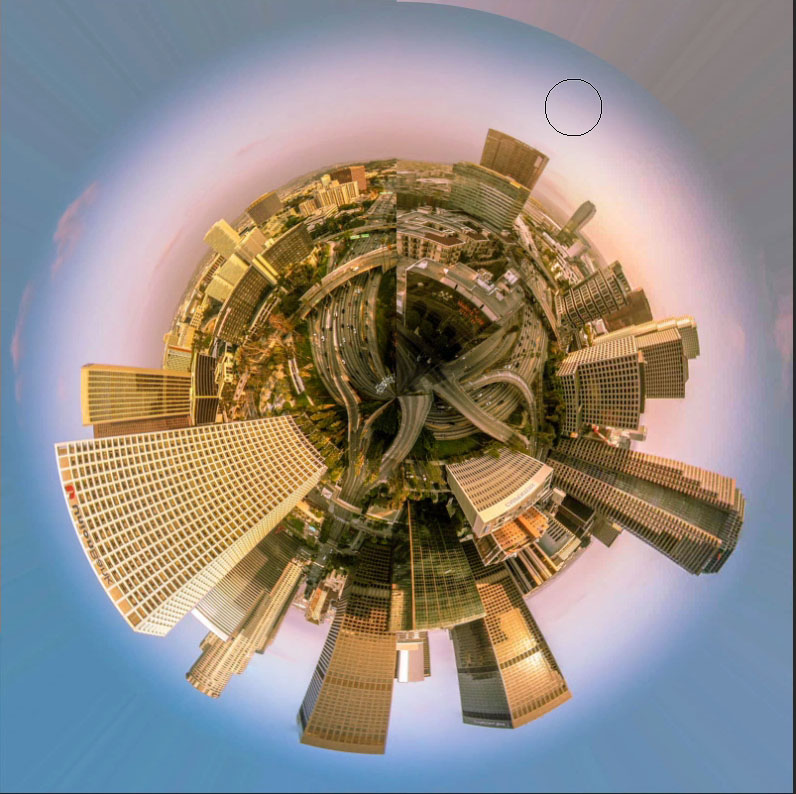
And the tiny planet. Watch the video at top to see how to remove (and avoid) seams and clean it up.
5. Time to add the ape!
This is a pic of a silverback Gorilla, I found on Adobe Stock.
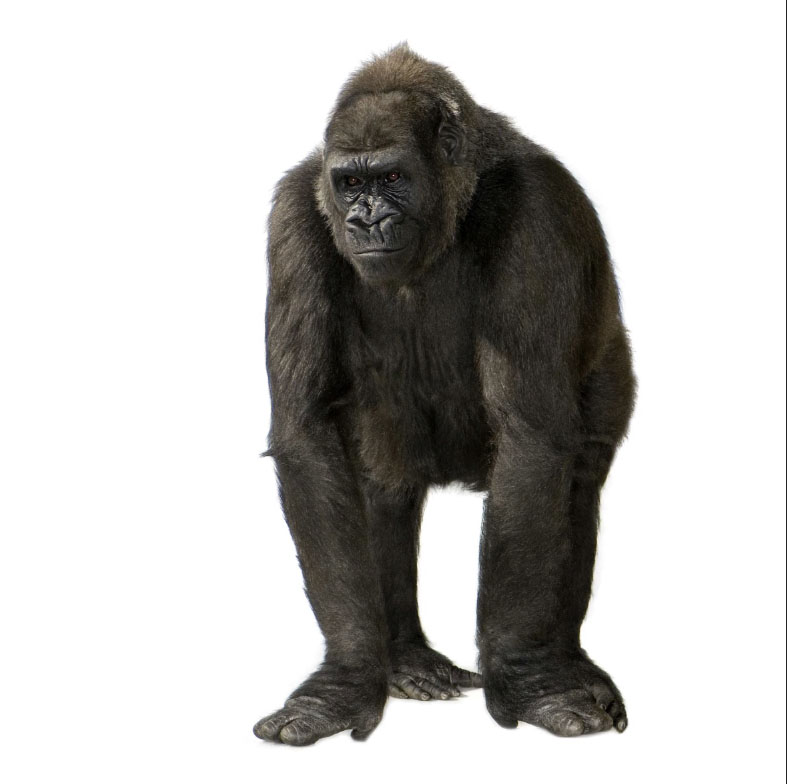
6. Let’s cut it out.
Choose the quick selection or object selection tool in the toolbar.
Choose Select subject from the top (once again, you can see all this in detail on the video version)
If you are on CS6 or older, use quick select or magic wand to make the cutout.
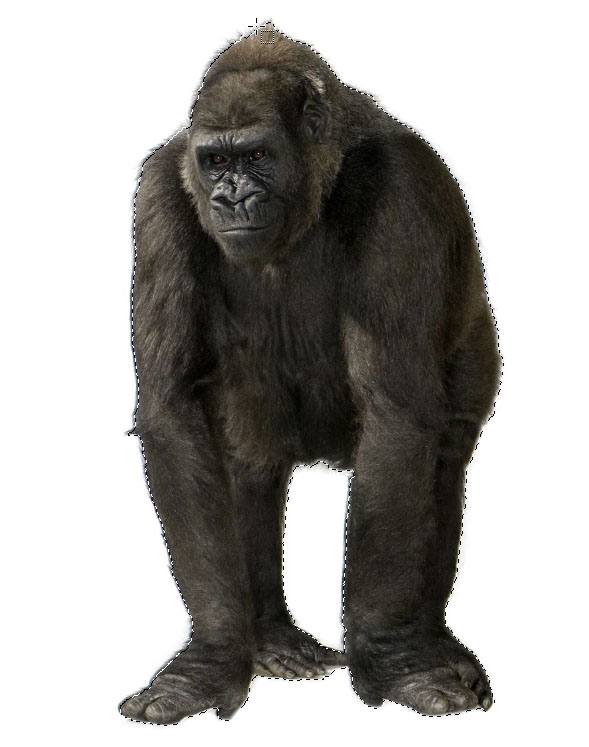
7. Click on select and mask, lets clean the edges
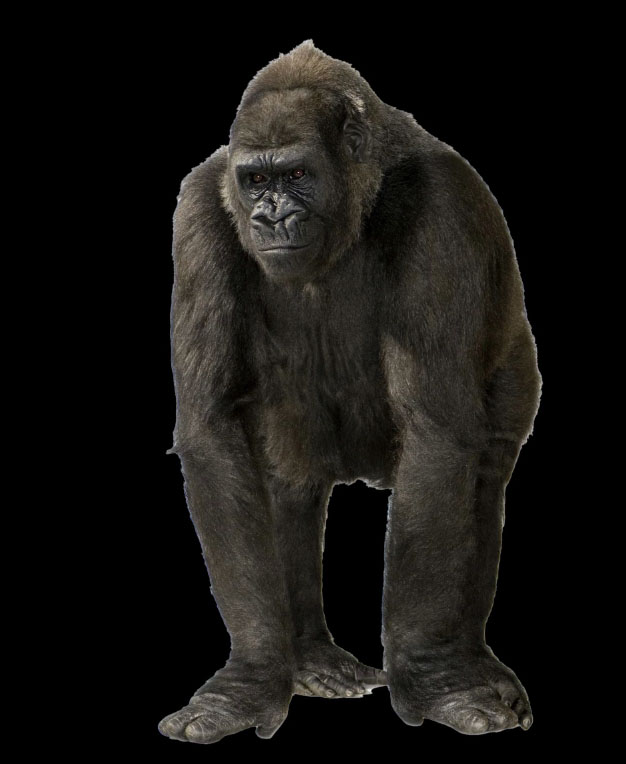
8. Click the refine hair option at the top and the head will look better (Its a shame, the refine hair doesn’t to the whole outline for fur)
You can use the refine brush and go around the edges of the body to get a better result.
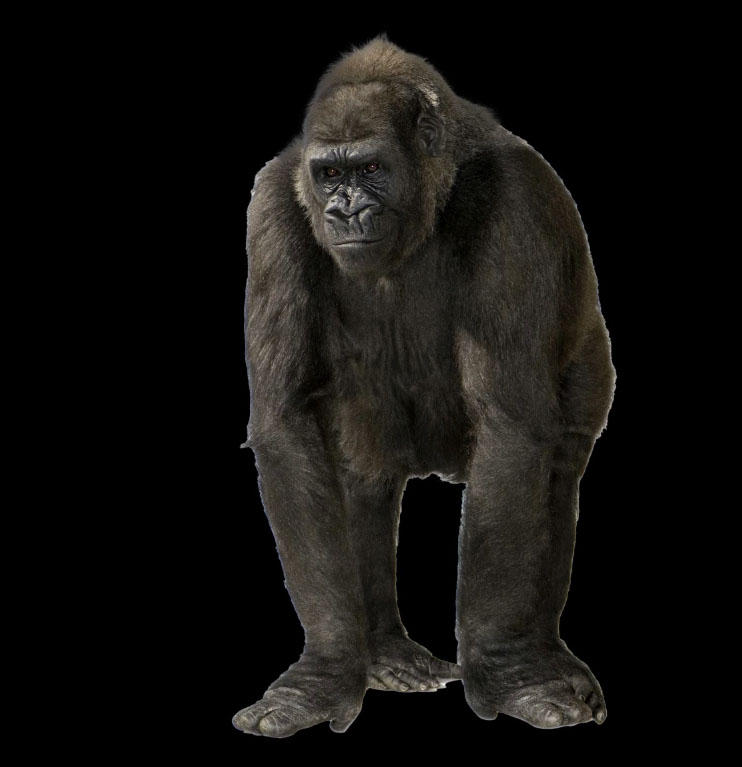
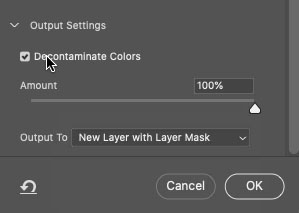
9. In output settings (Still in select and mask)
Choose Output to New Layer with Mask.
Turn on decontaminate colors to reduce the white fringing.
Click OK
And you will see our gorilla is cut out.
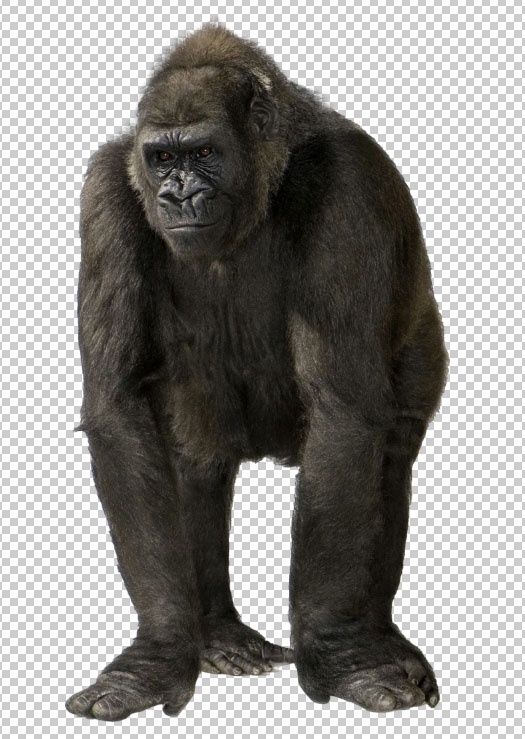
10. Drag the gorilla into the tiny planet window to combine them. How to combine images, (simple, fast tutorial) if you don’t know how, or watch video.
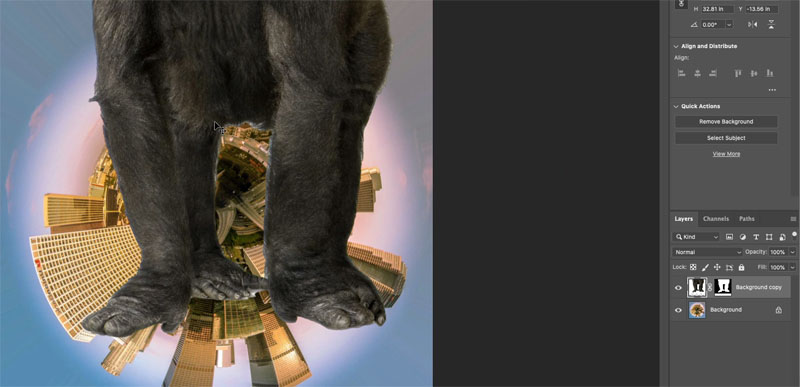
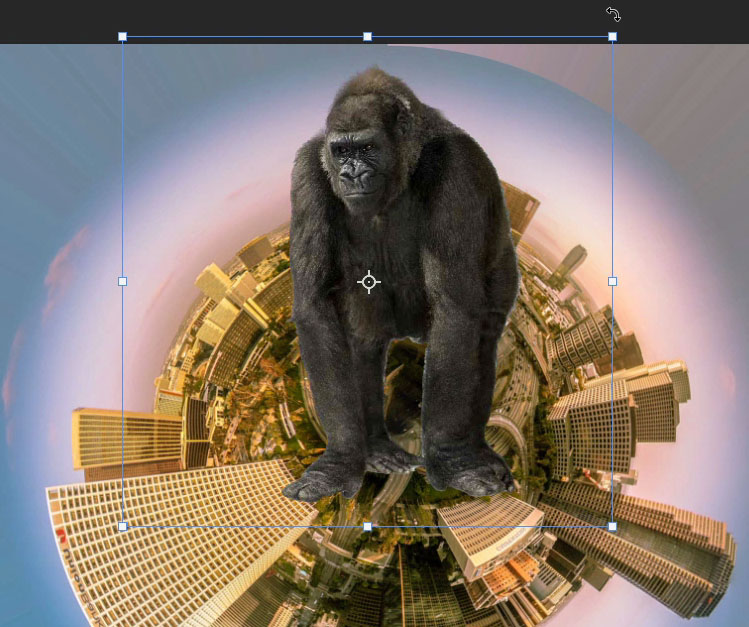
11. Let’s resize Kong
Press Cmd/Ctrl+T for free transform.
Drag a corner to resize the layer
Press enter to apply
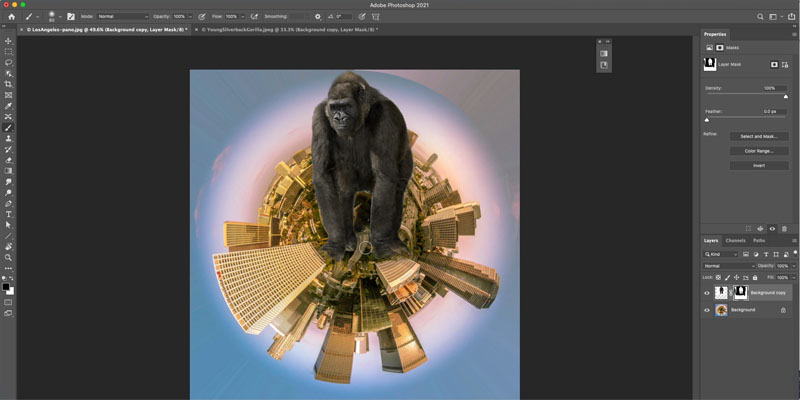
12. Create a layer mask
Choose a black brush
Paint away Kong’s feet, to blend him into the city
13. Lets add atmosphere for effect
Create a new Layer
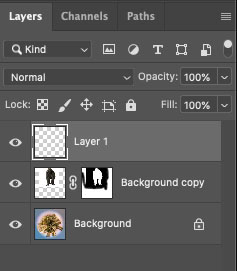
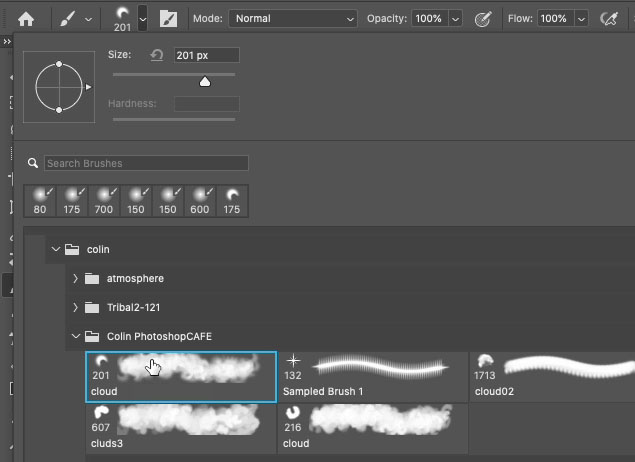
14. Choose a cloud brush, or a soft brush if you don’t have one.
Get my free cloud brushes here (If you are an email subscriber, the link to the brush is in the latest email)
15. Begin with a light gray color and paint in some dust and clouds
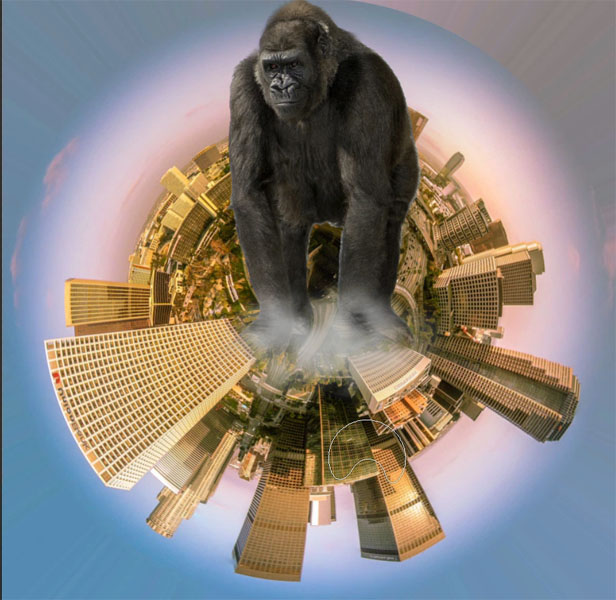
16. Keep adding clouds.
Choose white and the new color
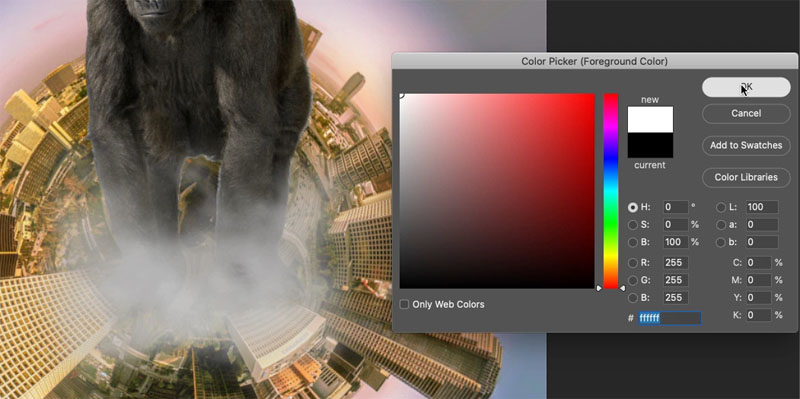
17. make the brush a little smaller
dab in some details on the clouds.
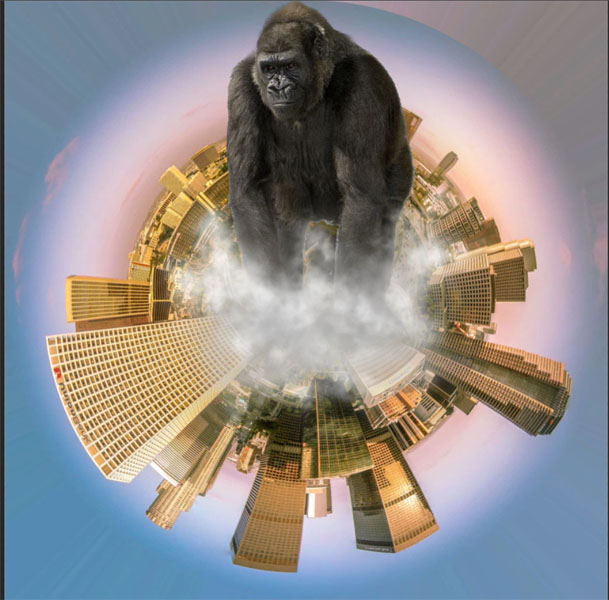
Adding a color grade to a composite in Photoshop
18. Let’s add a color grade for the finishing touch.
Open the gradients. Window>Gradients
Drag a gradient into the layers panel and put it on top
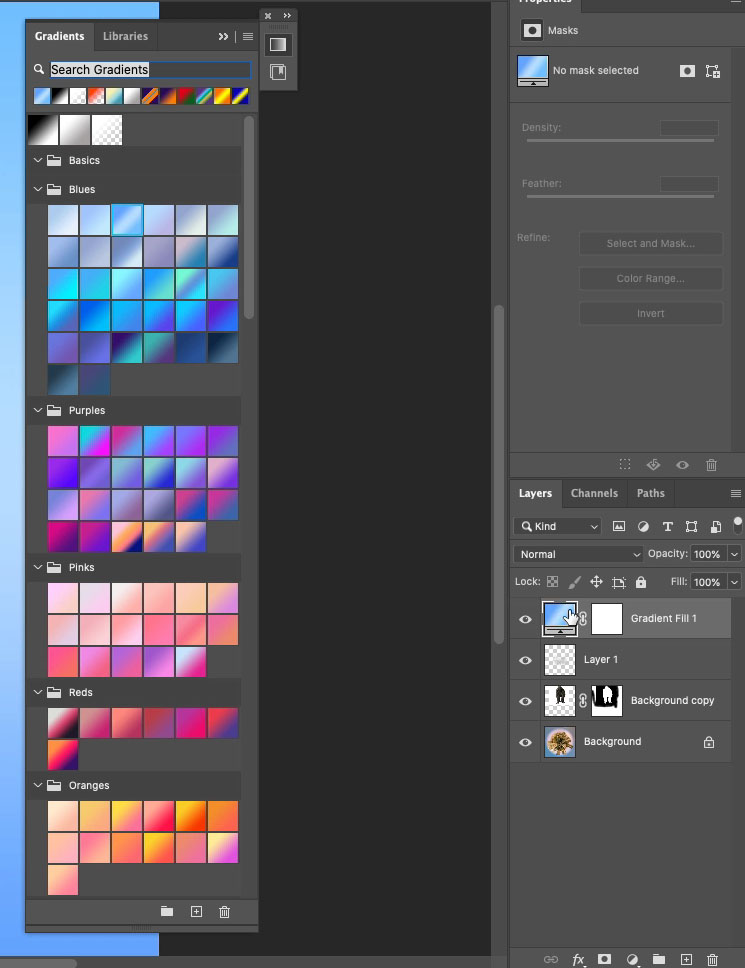
19. Change the blending mode to color and drop the opacity to about 14% or whatever looks good to you. Each color will need a slightly different amount of opacity to look right.
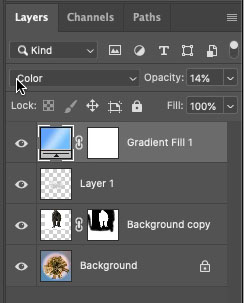
You can see how it adds a cinematic coloring to the image.
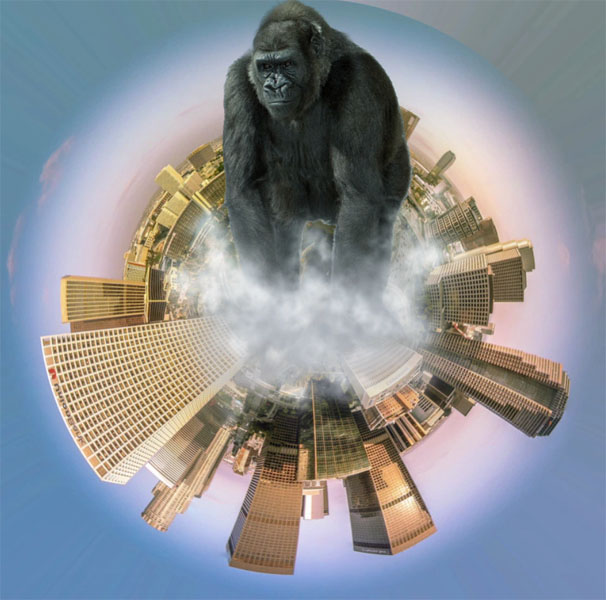
Here I dropped in an airplane and ran the whole thing through camera raw to make some finishing adjustments.

I really hope you liked this week’s free tutorial.
I thought it would be fun to expand the lesson into a little fun project.
Great to see you here at the CAFE!
Colin
Browse our hundreds of other free tutorials here, or search for what you are looking for in the search at the top of the page.
You can also browse by topics in the free tutorials menu. | If you are ready to get serious about Photoshop, see our full length courses here
For notifications when I post new tutorials and livestreams, join our mailing list
Keep the conversation going; follow us on Social Media:
The post How to make a video game cover in Photoshop: tiny city photoshop composite appeared first on PhotoshopCAFE.
![[DEV]Schenectady Photographic Society](https://dev.spsphoto.org/wp-content/uploads/2020/03/newsitelogo5-e1584673483198.png)